5 Kitchen Layout Mistakes General Contractors See All the Time (And How to Fix Them)
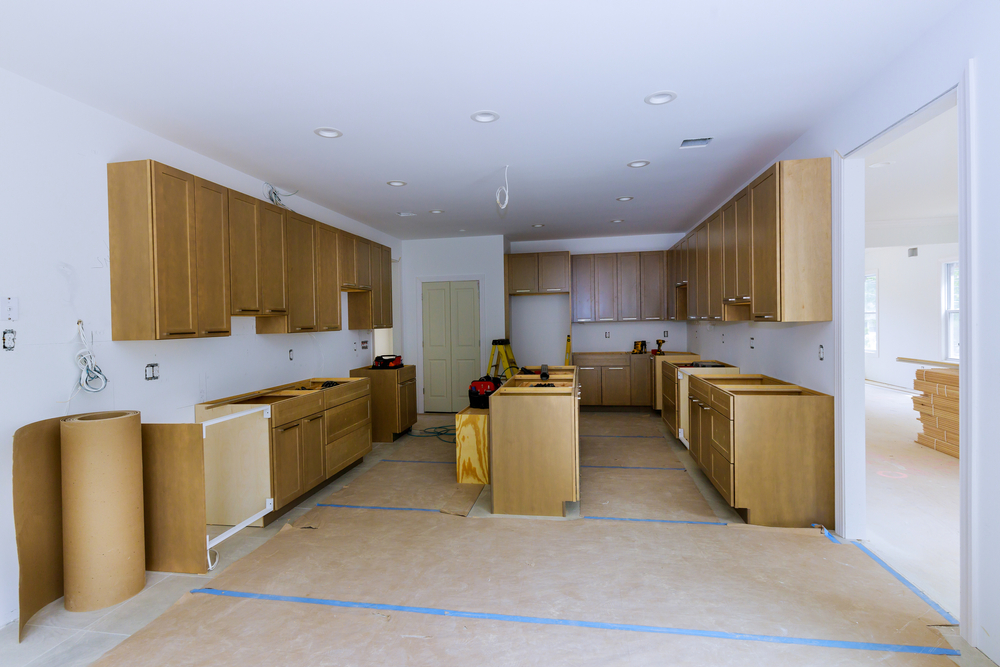
The most expensive mistakes in kitchen remodeling almost never involve the countertop material. They involve clearances: an island set 34 inches from the range instead of 42, a dishwasher door that blocks the sink, or a refrigerator with nowhere to set down the groceries. Those decisions get locked in on day one of demolition, and undoing them later means tearing out plumbing, electrical, and cabinets you already paid for. At A&Z General Contractor, we see how proper planning from the start saves homeowners thousands in unexpected revisions.
Contractors see the same handful of layout errors year after year, usually on plans drawn by homeowners who measured carefully but never walked the space with a tape measure in hand. Here are the five that come up most, and what a working layout does differently.
Mistake 1: Squeezing the Work Triangle Into a Hallway
The classic work triangle connects the sink, the cooking surface, and the refrigerator. NKBA planning guidelines suggest each leg run between 4 and 9 feet, with the three legs adding up to no more than 26 feet total. Anything tighter and two people constantly collide; anything longer and you log real mileage every time you cook pasta.
The problem usually isn't the triangle's size. It's that a main traffic path, the route from the back door to the dining room, cuts straight through it, so the cook gets interrupted by everyone carrying laundry or backpacks.
The fix: redraw the plan with the walking route marked in a different color before any cabinets get ordered. When executing custom kitchen remodeling in Lansdale, our design team keeps traffic patterns completely separate from cooking zones. If the path crosses a triangle leg, shift the refrigerator toward the room's entry so people grabbing a drink never cross in front of the stove. In galley kitchens under 10 feet wide, an L-shape with one longer run often beats a true triangle.
Mistake 2: Islands Installed With Less Than 42 Inches of Clearance
Islands are the single most requested feature in kitchen remodeling, and the single most common source of regret. The usable minimum between an island and the nearest cabinet face is 42 inches for one cook and 48 inches for two. Below 36 inches, a dishwasher or oven door physically will not open all the way.
Homeowners tend to measure from countertop edge to countertop edge and forget that appliance handles, overhanging stone, and bar stools all eat into that number. A 15-inch stool pulled out takes a 42-inch aisle down to roughly 27 inches of walking space.
- Rooms narrower than 13 feet usually cannot support a full island with proper clearance on all four sides.
- A peninsula attached to one run of cabinets gives you the prep surface and seating without the second aisle.
- A rolling work cart, 24 by 36 inches, is the budget version and can be pushed aside when the room fills up.
Before signing off, A&Z General Contractor recommends taping the island footprint on your existing floor with painter's tape, adding the stool depth, and living with it for a week. This simple step catches more layout problems than any 3D rendering.
Mistake 3: Putting the Dishwasher on the Wrong Side of the Sink
Dishwasher placement is decided by habit, not by plan, in most kitchens. Right-handed cooks generally want the dishwasher to the left of the sink so the dominant hand scrapes and rinses while the other hand loads. Reverse it for a left-handed primary cook.
There's a second clearance issue nobody checks: an open dishwasher door projects about 24 inches. If the sink sits in a corner, that open door can block the adjacent cabinet entirely, which is usually where the silverware drawer ended up.
Keep at least 21 inches of standing room beside the open door, and never place the dishwasher directly across a 36-inch aisle from a wall oven. Both doors opening at once in a holiday-level cooking session turns into a daily annoyance for the next 20 years.
Mistake 4: Designing the Cabinets Before Choosing the Appliances
Appliance specs drive cabinet dimensions, not the other way around. A standard 30-inch range slides into a 30-inch opening, but a 36-inch professional range with a side trim kit may need 37 inches, and counter-depth refrigerators vary from 24 to 30 inches deep depending on the handle style.
When cabinets get ordered first, the usual outcome is a filler strip on both sides of the range, a refrigerator that sticks out 4 inches past the cabinet run, or a hood that's too narrow for the burners underneath it.
Pick the actual model numbers during design, pull the manufacturer's rough-in specs, and hand them to whoever is building the cabinets. While you're at it, confirm the landing space: 15 inches of counter beside the refrigerator, 12 inches on at least one side of the cooktop, and 24 inches somewhere near the oven for setting down a hot sheet pan.
Mistake 5: Treating Ventilation and Outlets as a Finish Detail
Range hoods and electrical rough-in get decided during framing, which is weeks before anyone is thinking about them. A hood should be at least as wide as the cooktop, ideally 3 inches wider on each side, and most residential kitchens need 300 to 600 CFM. Once a hood exceeds 400 CFM, many jurisdictions require a makeup air system, which adds roughly $800 to $2,500 to the job if it's discovered late.
Outlets follow the National Electrical Code countertop rule: no point along the counter wall line should be more than 24 inches from a receptacle, and kitchen counter circuits must be GFCI protected. Island outlets, pop-up or side-mounted, need their own planning because you cannot add them after the stone is set.
Lighting belongs in the same conversation. Layer recessed ambient lights, under-cabinet task lighting, and one decorative fixture, and get the switch locations marked on the plan while the walls are still open.
How to Catch These Before Demolition Starts
Every one of these problems is cheap to fix on paper and expensive to fix in drywall. A few habits separate smooth projects from the ones that stall:
- Tape the full layout, including island and appliance swings, on the existing floor.
- Order appliances, or at least confirm model numbers, before cabinets go into production.
- Ask your team at A&Z General Contractor to walk the taped plan with you and mark where plumbing and gas lines actually run.
- Confirm permit requirements early, since moving a sink or adding circuits typically triggers inspection.
Good kitchen remodeling companies will do this walkthrough without being asked. If you are interviewing kitchen remodelers in Montgomeryville, ask to see a dimensioned floor plan with clearances labeled, not just a glossy rendering, because the rendering will never tell you whether the dishwasher door hits the island.
Talk Through Your Kitchen Layout Before You Order Anything
A 45-minute conversation about clearances and appliance specs prevents most of the problems above. A&Z General Contractor manages each kitchen project from start to finish, making sure the plan is thoroughly reviewed before demolition begins. Contact A&Z General Contractor today to walk your space and get real numbers for your project.